Categories
General

CAKE POPS

I made 40 cake pops, they lastedΒ  justΒ 11 hoursΒ when shared with work colleagues and friends.Β  Apparently once you eat one, you just can’t stop.Β  Here is how it all happened.

It all starts with the very normal baking a cake…

Make a basic chocolate cake recipe.Β  I made mine by mixing 250g salted butter (at room temperature) with 250g caster sugar.Β  Slowly addΒ 4 medium eggs, continuing to beat the mixture.Β  Sift over 250g self-raising flour andΒ 4 tablespoons of cocoa powder.Β  Mix everything until combined.Β  Pour intoΒ 2 xΒ 8 inch cake tins, bake in a preheated oven at 160ΒΊC for 25 mins.Β  Test it with a skewer, it cooked the skewer comes out clean.Β  Leave the cake to cool.

Now things start to get a bit crazy, it’s time to destroy the cake, yes, really…

I know it seems so terribly wrong, but it has to be done.Β  Put the cake into a food processor and process until you get a crumb consistency.Β  I do not have a food processor, so I had to go with the slower method of breaking the cake until a big bowl, and then using a fork to break it up into a crumb-like consistency.Β  Yes, this takes quite a bit more time, but if you do it whilst sitting in front of the TV watching ‘The Big Bang Theory’ then the time passes by quickly.

In a seperate bowl mix together 140g full-fat cream cheese and 280g sifted icing sugar until smooth.Β  Add this to your cake crumbs.Β  Stick your hands in andΒ combine together.Β  You should be left with a moist mixture.Β 

Time to make some balls…

Weigh out 30gramsΒ of the mix and roll into a ball, push in a lollipop stick, and place on a tray.Β  Do this about 39 more times and you should have used up all your mix.Β  Put the tray into the fridge for a few hours (if short on time you can put them in the freezer for about 10 minutes).

Now for the fun part, it is time to decorate…

Melt some chocolate or candy melts, I used Cadbury milk chocolate as it is my favourite.Β  Dip the naked cake pop into the chocolate, ensure it is fully coated, tap the excess chocolate off.Β  Decorate with sprinkles, glitter, sugar stars/hearts etc, whatever you fancy.Β  Place into a stand to dry.Β  You can buy proper cake pop stands online, but they can be a bit pricey.Β  I used oasis (the stuff that is used for flower arranging) and found it was a very useful substitute.

And the result is…

A very pretty, cute and tasty treat, something that is almost like a chocolate truffle.Β  Seriously, they were eaten so quickly by my work colleagues and friends that I did not even have time to eat one myself, I found myself making another batch a few days later, and I got to eat my first cake pop, and it was delicious, worth the time and effort for a special occasion/treat.

Categories
General

It was the cover that caught my eye…

Everyone knows that you shouldn’t judge a book by it’s cover. This is often quite literally true; however, beautiful covers do entice. I often find myself, having spied a pretty book on the train being read by someone else, making a concerted effort to find that book, and indeed that particular beautifully bound edition.

The first cover I’m featuring is one that I indeed spied on an early morning train journey; I could not take my eyes off the cover or fail to be intrigued by the title.

My Name Is Red by Orhan Pamuk, Faber & Faber edition, has a well laid out cover featuring an exquisite illustration:

This book is definitely worth a read in my opinion. I found it quite hard to keep on going while I was reading it; but whenever I wasn’t reading it, IΒ found I wasΒ constantly thinking about it.

Categories
General

Festive baking- reindeer cupcakes

It’s a bit late now, I know; but I didn’t get round to making these until after Christmas and I simply couldn’t wait until next year to do them.Β 

My mother-in-law gave me these adorableΒ edible decorations from Holly Cupcakes, a website thatΒ shall be thoroughly investigated very soon.

The cupcake recipe I used was a very basic one. I got some tips from the Queen of Cupcake Corner, who said recipes with milk usually turned out nice and light. Here it is (makes 12):

  • 150g butter
  • 150g caster sugar
  • 2 eggs
  • 150g self raising flour
  • 2-3 tbsp milk

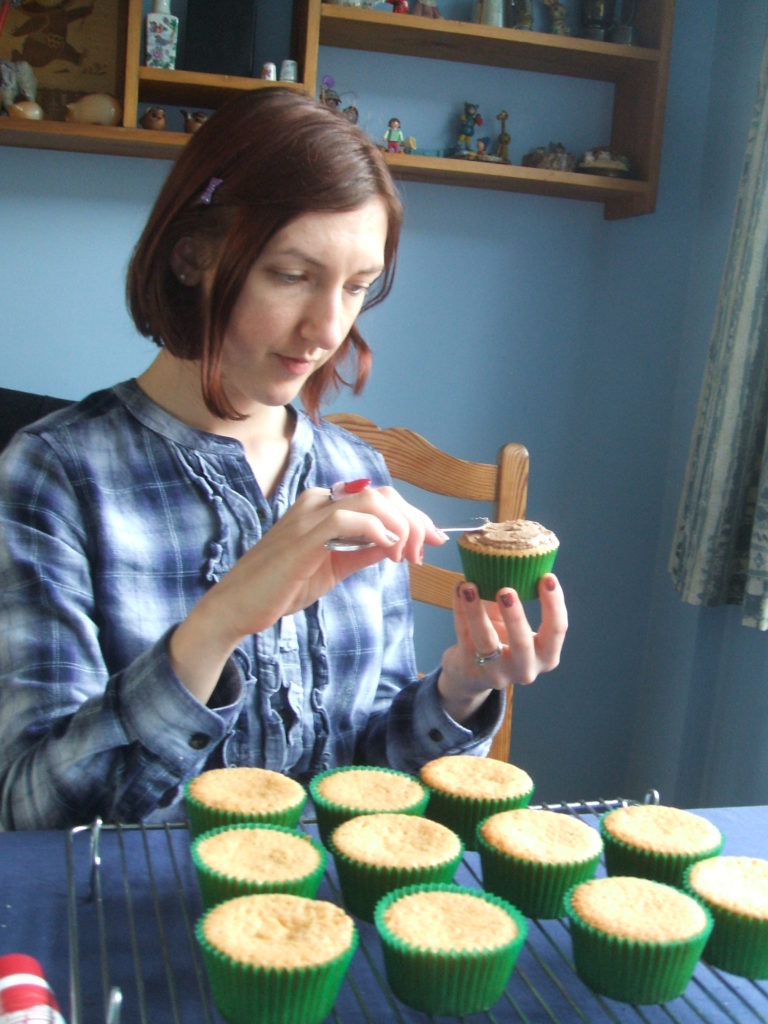
First, cream the butter and the sugar. Make sure the butter is nice and soft before you begin. I usually do this by hand, but as I was at my parents I used their food processor- so much quicker!

Next, beat in the eggs. I was told you need to do this for a long time, which is much easier with a food processor- it got the mixture really really smooth.

Then fold in the flour carefully, making sure you don’t over mix it. Add a little milk to make it dropping consistency, then fill your cases. As I wanted poofy tops for my reindeer, I filled some up more than others. BakeΒ at 180 degrees C for about 20 mins.Β They turned out pretty good!

To ice them, I made a batch of butter icing; 6oz of icing suger, 3oz of butter. I know, I used grammes before, but I’m not fussy, I just use whatever recipe I like the look of! I replaced just under 1oz of icing sugar with 1oz of cocoa powder, to make a vaguely reindeer coloured icing. Not having anything else, I just smoothed this on with a knife.

After that it was just a case of decorating! I used some red icing to do the noses, but you could use lots of things: chocolate peanuts or raisins, cherries, cranberries…

Categories
General

Weekend baking- The truffle experiment

If you’re making truffles for someone as a gift, it’s probably not the best time to experiment. But that didn’t stop me.

I decided to make two different types; Amaretto centre, with ground almonds on top and plain milk chocolate filled ones decorated with a white swirl.

Β Β Β Β Β Β Β Β Β 

I put the white swirl in first, as the writing icing I was using was quite soft, and I thought the chocolate might help it set. It didn’t. Lesson learned!

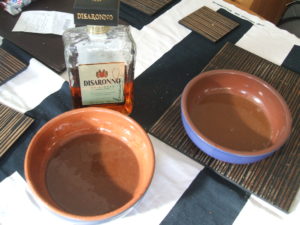
After coating the moulds with melted chocolate, I made the ganache. To do this, I poured 60ml of boiling cream over 75g of well broken up chocolate and mixed frantically until smooth. Then I split the mixture in two and added Disaronno to one half.

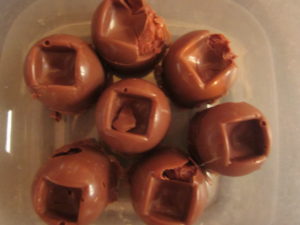
I was using Wilton Candy Melts. They’re really easy to use and brilliant for coating and making solid chocolates. However, it turns out that if you try and make a ganache with them, they don’t really solidify. So I ended up making chocolates with almost-liquid centres. Which was unexpected, but really nice.

Results:

Need to practise neatening the edges, but I think they turned out pretty well.

Categories
General

Weekend Baking- Star Wars shortbread

Team Craft Fantastic were very busy this weekend baking and making. We made shortbread with the Star Wars cookie cutters, splitting the dough in half and adding green food colouring to one and cocoa powder to the other.

Β 

Geeky shortbread, anyone?

Categories
General

Weekend Baking- Greengage and almond tart

I acquired a nice big bag of greengages this week and decided to put them to good use by making a greengage and almond tart. I can’t remember where I found the recipe, I just typed ‘greengage recipes’ into google and this one popped up and seemed to sayΒ “Make me, make me!” – and it seemed rude not to. I’ve added my own handy hints and tips to this.

50g butter
50g ground almonds
25g caster sugar
1 large egg
12/250g ripe greengages
195g/20cm butter pastry case
Knob of butter (you really don’t need much at all.)
2 tbsp flaked almonds

METHOD: Heat the oven to 400F/200C/gas mark 6. Dice the butter into a food processor (or if, like me, you don’t have a food processor, dice the butter into a mixing bowl andΒ allow to reach room temperature before adding the other ingredients and mixing to a paste).Β Add the almonds, caster sugar and egg. Blitz into a thick paste. Spread the paste in the pastry case. Halve the plums round their middles, winkling out the stone. Plant, cut-side uppermost, in the frangipane with a little space between each one. Melt the butter in a frying pan and quickly toss the flaked almonds to coat evenly with butter. Scatter over the tart. Bake for 25 min, or until the frangipane is firm and swollen, the plums are weeping and the flaked almonds golden. If liked, dust with icing sugar before serving hot, warm or cold. N.B.- if, like me, you are using a pre-bought pastry case, you do need to be careful of the edges. It was a choice between frazzled pastry case or slightly uncooked frangipane- as you can see I opted for the former. I have since learnt from my mum that you can put foil around the edges of the pastry case to prevent this.

Β 

It tasted fab. I reckon you could use any type of plum though if you can’t get greengages.

Categories
General

Weekend Baking- chocolate truffles.

This Saturday was supposed to be a craft evening. Instead, we got rather caught up in making chocolate truffles and chatting. I’ve made truffles quite a bit, but wanted to try out a new mold I’ve got- a silicone one. Previously I’ve used the Wilton plastic molds, which are great, but are easy to crack if you’re not careful.

Firstly, I coated the molds with plain melted chocolate and put them in the fridge to set:

While they were setting, I made the ganache from a mixture of lovely dark 60 & 72 % cocoa solids chocolate and double cream. Mmm. Being in an experimenting mood, I split the ganache in two bowls and added Bailey’s to one. ThisΒ turned out to beΒ a very good idea. Once everthing was nice and set, I filled the molds with the ganache and once that was a bit firmer I coated the bottom with more plain melted chocolate. Then back into the fridge for much longer than you want to wait.

We got impatient and tried to take some out a bit too soon, resulting in some mushed-ness:

Happily, we didn’t ruin all of them though, and after a short spell in the freezer they turned out… better, for the most part:

Categories
General

Weekend Baking- Star Wars cookies

One of my most exciting wedding presents was a set of Williams-Sonoma Star Wars cookie cutters. Having had lots of practice with making cookies, I thought it would be simple- but I hadn’t banked on the stamp-style cutters being quite so faffy! And the icing…! It’s really tricky! Maybe, though, it would have been easier if I had propper icing equipment and was’t applying it with a knife. Ah well. You learn!